Cleaning up Your Media Library is Simple and Well Worth the Effort
Over time, websites can accumulate hundreds or even thousands of media files that are no longer in use. Old images, videos, PDFs, and other uploads consume valuable storage space and can make it more difficult to locate the specific media files you actually need.

Why Clean Up the Media Library?
Here are a few key benefits of regularly removing unused media files:
- Reduce Clutter: Keeping your media library lean helps avoid confusion, particularly when uploading or selecting new images. Removing old PDFs or out-of-date content helps prevent outdated data from being accidentally added to a page or post.
- Free Up Storage Space: Unused media files can consume a significant amount of server space. Removing them can help improve overall site performance.
- Improve Organization: A clean Media Library makes it easier to locate current and relevant files quickl
How to Delete Media Items from the WordPress Media Library
You can remove media files from your WordPress site in just a few steps:
1. Navigate to the Media Library
From the WordPress Dashboard, go to Media > Library.
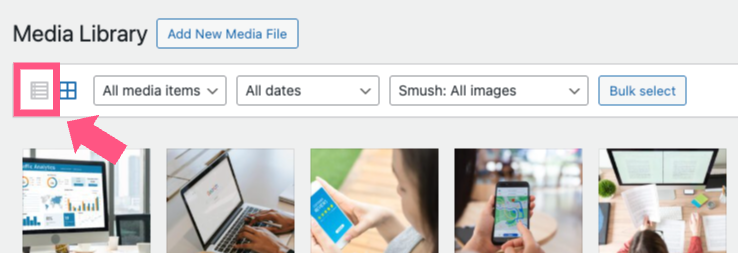
2. Switch to List View (Optional)
While the grid view is helpful for browsing, the list view provides more details like file names and post usage, which can be helpful when deciding what to delete.
3. Select and Delete Files
Click on a media item to open its details. If you’re sure it’s no longer needed, click the Delete Permanently button.
⚠️ Important: Be cautious when deleting media, as it removes it from all pages or posts where it was used.
⚠️ Important: A media item may be listed as “unattached” however, that does not mean the item is not in use on the site. Always be careful when deleting items from the media library

4. Use Bulk Select
To delete multiple items at once, switch to the grid view, click Bulk Select, choose the items you want to remove, and click Delete Permanently.
Want to Clean Smarter? Try Media Cleaner Pro Plugin on Your WordPress site!
If you’re managing a large site or unsure which media files are in use, a manual cleanup can be risky. That’s where Media Cleaner Pro comes in.
This powerful plugin scans your site to identify unused media files and helps you safely remove them. It can even handle files left behind by themes and plugins you no longer use.
We can install Media Cleaner Pro for you!
Reach out to your Account Director for more information and help getting started.

How to Delete Media Items from the VividSite Pro Media Library
You can remove media files from your VividSite Pro site in just a few steps:
1. Navigate to the Media Library
In the side panel, click Content, then click Media Manager.
2. Select and Delete Files
Individual media files can be deleted by hovering on the desired file then clicking the “x” in the upper right hand corner.

⚠️ Important: Be cautious when deleting media, as it removes it from all pages or posts where it was used.
Ready to Tackle Your Media Library?
We can help you clean it up or install the Media Cleaner Pro plugin for WordPress sites. Talk with your Account Director today about this and any other website maintenance needs.