The Events Calendar plugin makes it easy to add and manage events on your WordPress site. This guide covers how to add a new event, how to set up recurring events (PRO only), and how to add additional custom fields to your events (PRO only).
Add an Event
To set up an event, regardless of whether you’re a Standard or PRO user, navigate to the Dashboard of your site and select Events → Add New. You’ll notice that this looks very similar to the page you see when adding a regular post.
- Add a title of the event
- Add your content about the event
- Select the category you would like your event to be associated with
- Assign a featured image to the event
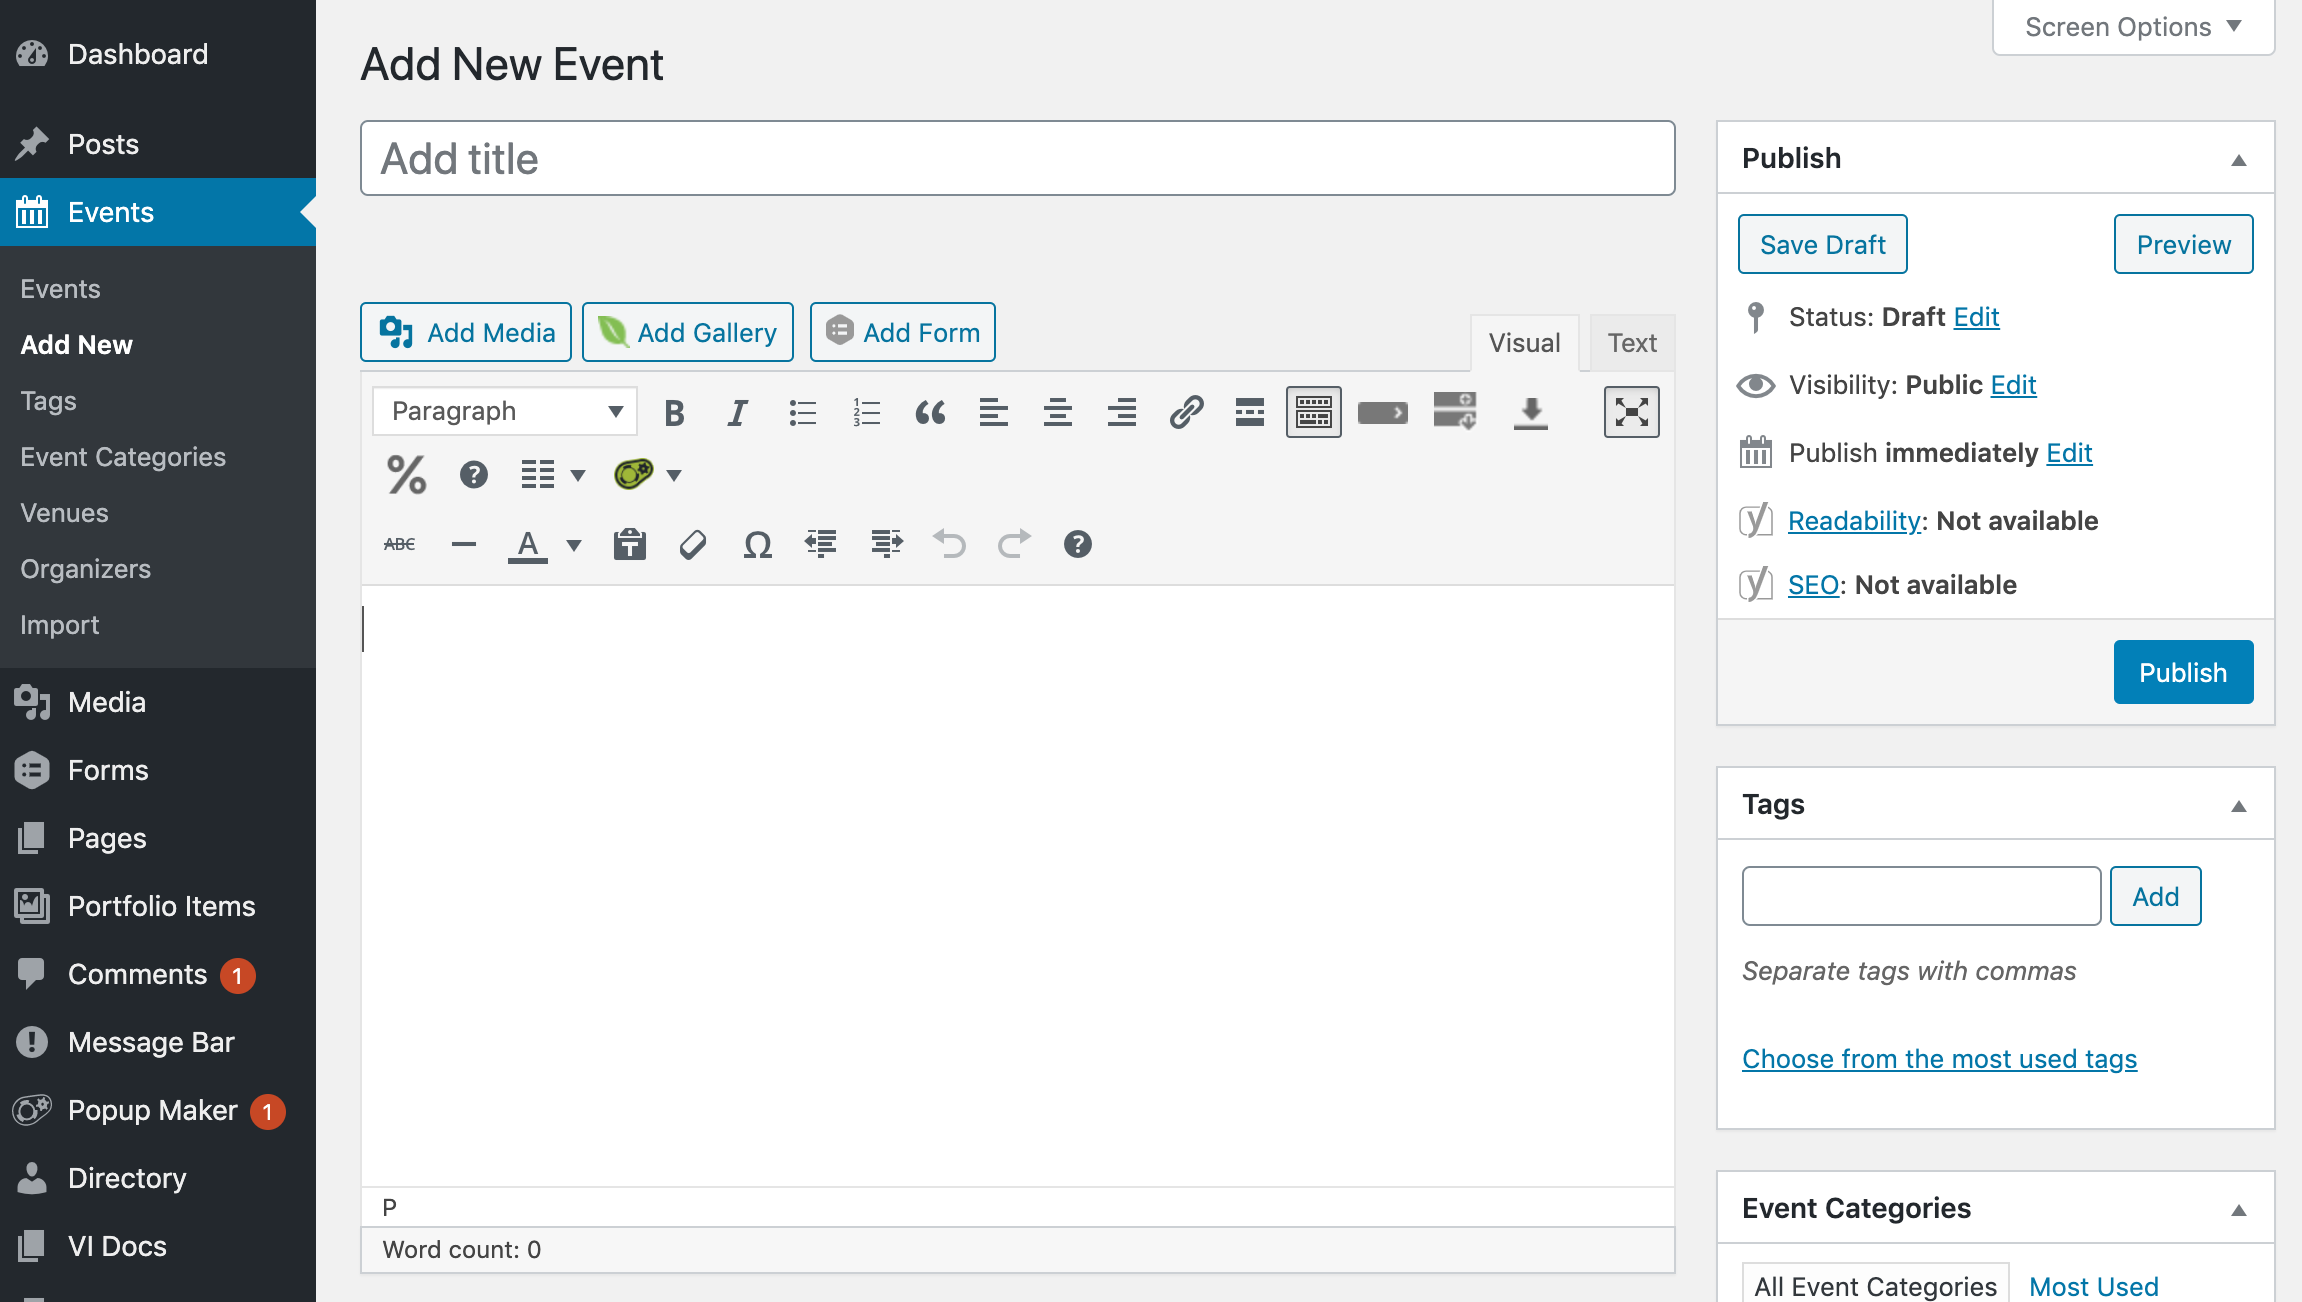
Title, description, tags, categories, and the featured image operate identically to a regular blog post.
Time and Date
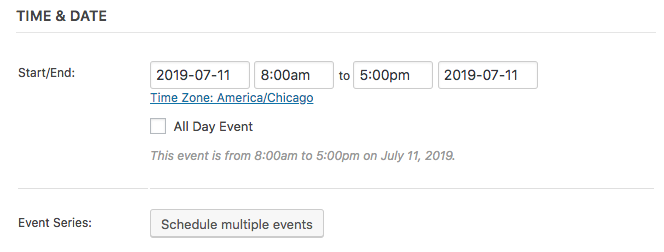
Once you begin adding event details, the first thing you’ll need to decide is whether or not this will be an All Day Event. If it is, check the box; you’ll see the start/end time fields disappear. If it isn’t an all-day event, leave this field unchanged.
Select the Start Date/Time. Start date will default to today and start time/end time will default to 8 a.m. / 5 p.m. respectively. However — assuming you haven’t set this event as all day — you can change these to whatever fits your event criteria using the dropdowns.
If you’re a PRO user, you’ll also see a dropdown for “Recurrence.” Leave “Recurrence” set to “None” unless you want the event to repeat — see the Setting Up Recurring Events section below for more detail.
Event Location
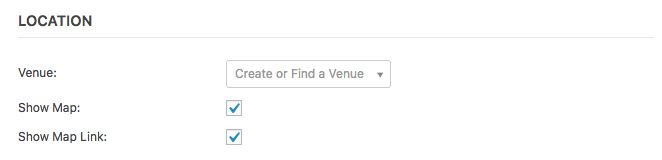
Event Location will determine the venue for your event. Use a saved venue from the dropdown or create a new one on the spot. If you do create a new one, it’ll be saved in the dropdown for all future events you create. You can add as many or as few venue details as you see fit; whether it’s a specific address or just a country, the plugin will accommodate your needs. You can also leave these fields entirely blank if you don’t want any venue information to display. However, you will need a full address if you want to use Google Maps options, Map View, and/or Location Search.
If you check the “Show Google Maps Link” box, it will include a button that links your readers to view the venue information at maps.google.com. If you check the “Show Google Maps” box, a map will embed into the events page directly. You can include one, both, or neither of these on an event-by-event basis. Keep in mind these options will only show if you have Enable Google Maps checked in the Settings.
Organizers
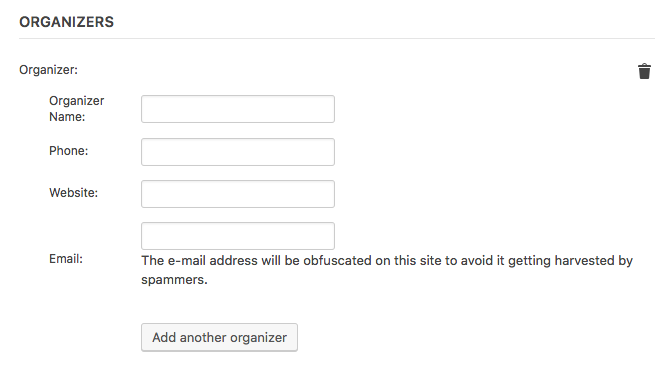
Event Organizer details are similar to the venue details above and focus on the person putting the event together. You have the option to pick from existing organizers via the dropdown or to add a new one using the fields available. Add as many or as few organizer details as you wish.
Website and Cost
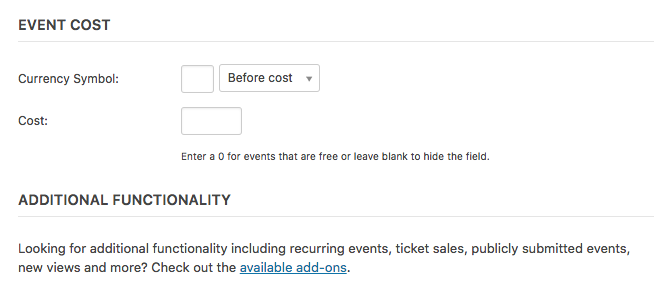
Event Website allows you to enter a URL if the event itself has a separate website. Otherwise, you can leave it blank. Event Cost allows you to enter the price per person if the event is not free. Additional add-ons are also available.
If you leave any of these organizer, website, or cost fields blank, they simply won’t appear on the page.

Setting Up Recurring Events (PRO only)
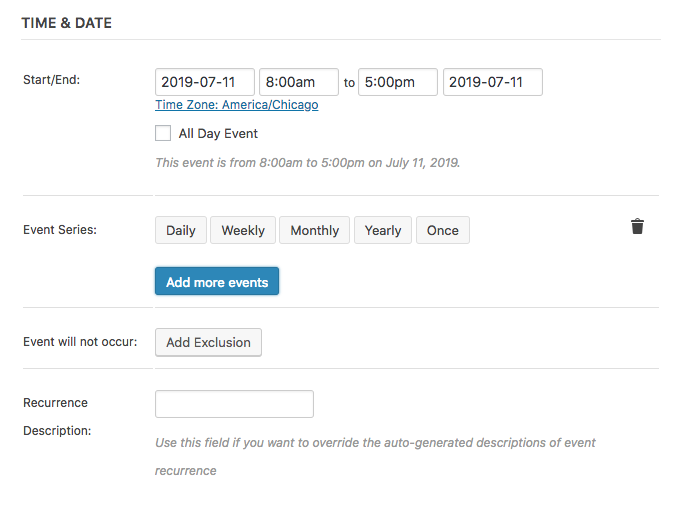
Recurring Event settings allow you to create a new event and have it recur daily, weekly, monthly, yearly, or on a custom schedule. It’s really handy for things like meetings, classes, and more. This is a PRO-exclusive feature, so you can skip this section if you’re using only the free version of The Events Calendar. If you want to set up more complex patterns, see the Events Calendar guide to Creating Recurring Events.
Adding Additional Fields (PRO only)
Additional fields are also a PRO-exclusive feature, so you can skip this section if you’re using only the free version of The Events Calendar. If you are using PRO, here’s a walkthrough of the process.
To add additional fields to your events:
- Navigate to Events > Settings
- Click the “Additional Fields” tab
- You’ll see three areas to configure: Field Label, Field Type, and Options (one per line)
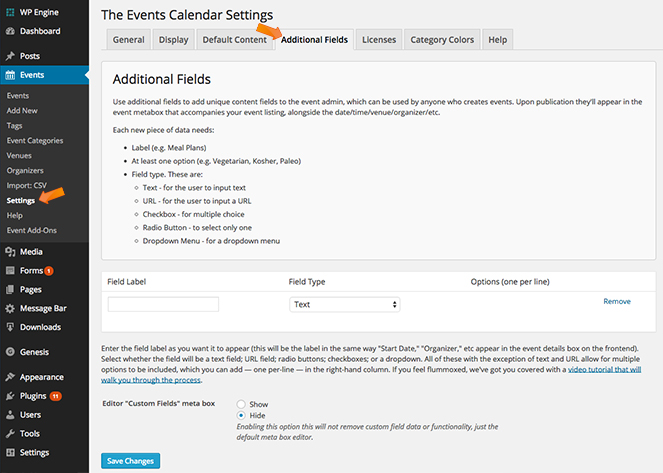
The Field Label determines how this attribute appears on the frontend. If you’re aiming to include a “Host” in your events, for example, you’d include the word “Host” here. No need to add the separator colon; the system will add that automatically upon publication.
The Field Type determines what type of field this will be. This includes:
- Text Field: event admins can enter whatever they want
- Radio: pre-populate the options and event admins can select one of them
- Checkbox: similar to Radio except allows event admins to pick multiple selections instead of just one
- Dropdown: pre-populate the list with options and event admins can select one from a dropdown that appears on the event creation screen
Select the Field Type you want for this attribute. Once you select a Field Type, you’ll be able to fill in the options. As the header indicates, you should include one option per line in this text field. You can include as many or as few as you see fit, and you can always edit this list later as needed.
You can add more custom fields by selecting the “Add Another” link that appears on the far right. Make sure you save your changes before navigating to another tab, or none of your custom attributes will be available.
Any custom attribute data added on the Settings page will be available to all users for all events created going forward. If you ever want to remove an attribute from the site, which will remove it from any existing events it may be assigned to, just come back to this Settings page and hit the “Remove” link.