Understanding AI Trust Signals The elements that help AI systems determine which businesses are credible and relevant enough to recommend to users are called “AI trust signals.”. Now, let us look at specific actions you can take to strengthen these signals for your business. 5 Things You Can Do To Improve Your AI Visibility Ready to increase your chances of being recommended by AI? Here's Continue Reading
Blog

How to Clean Up Your Website’s Media Library (And Why You Should)
Over time, websites can accumulate hundreds or even thousands of media files that are no longer in use. Old images, videos, PDFs, and other uploads consume valuable storage space and can make it more difficult to locate the specific media files you actually need. Fortunately, cleaning up your Media Library is simple and well worth the effort. Continue Reading
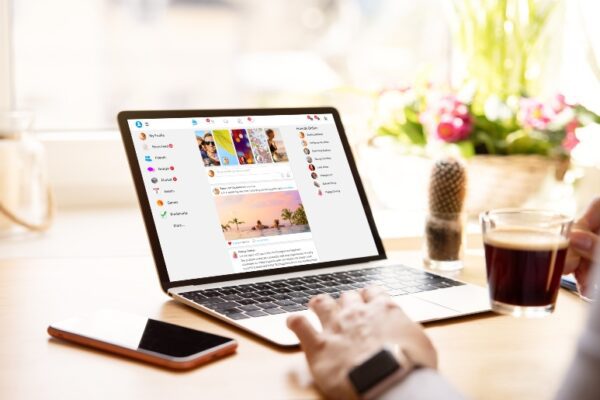
Frequently Asked Questions About Facebook Business Pages
Managing a Facebook business page can feel overwhelming, especially when you're focused on running your business. We regularly hear the same questions from small business owners who want to use Facebook effectively but aren't sure about the basics. Whether you're wondering about logins, security, or scheduling posts, these five frequently asked questions will help you understand exactly what Continue Reading

Youth For Christ Receives $500
It's important for us at Vivid Image to give back We want to show our support to the communities we live in and to the organizations and teams that our staff are involved in. This month we are proud to sponsor youth programs. Continue Reading
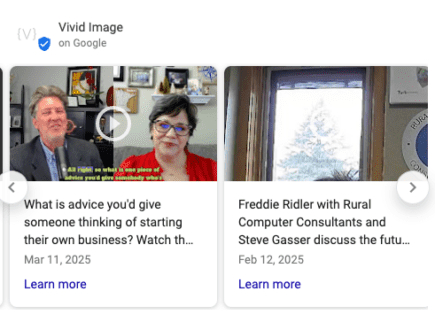
Google Posts: Your Business’s Mini Social Platform
Your Google Business Profile is often the first impression customers get when they search for your business. That’s why it’s essential to keep your information both accurate and up to date. While most businesses are familiar with the basics including name, address, and phone number, your Google Profile offers much more. By using features like Google Q&A and Google Posts, you can transform Continue Reading
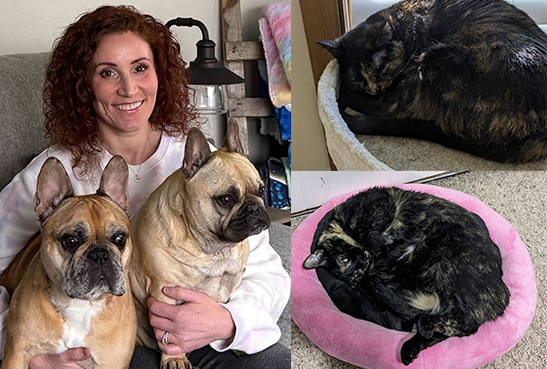
Animal Ark & Heart of MN Animal Shelter to Receive $250
It's important for us at Vivid Image to give back We want to show our support to the communities in which we live and to the organizations and teams with which our staff are involved. This month, we are sponsoring two Minnesota Animal Shelters. Karissa Makes Donation to Animal Ark Karissa Gumbusky is a Digital Solutions Specialist at Vivid Image, and she has selected Animal Ark in Continue Reading